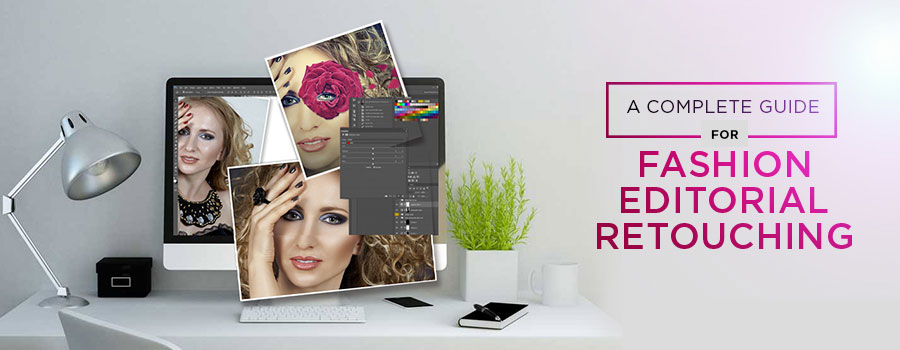
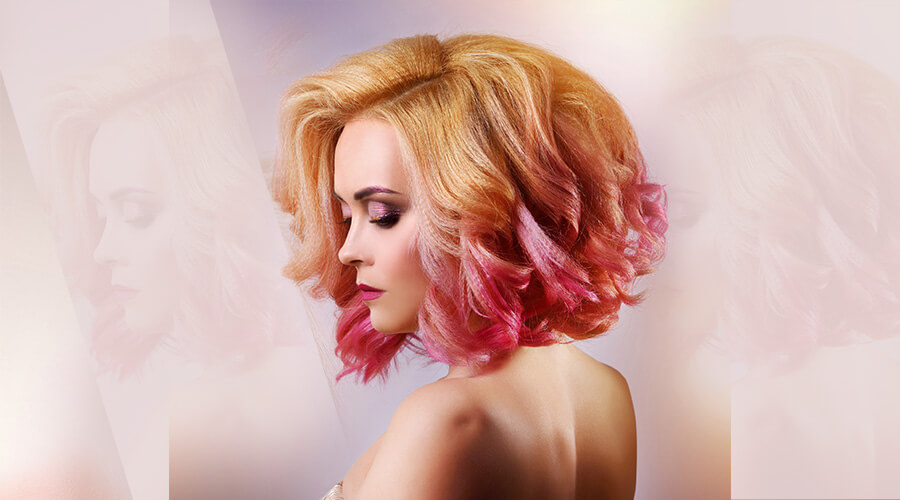
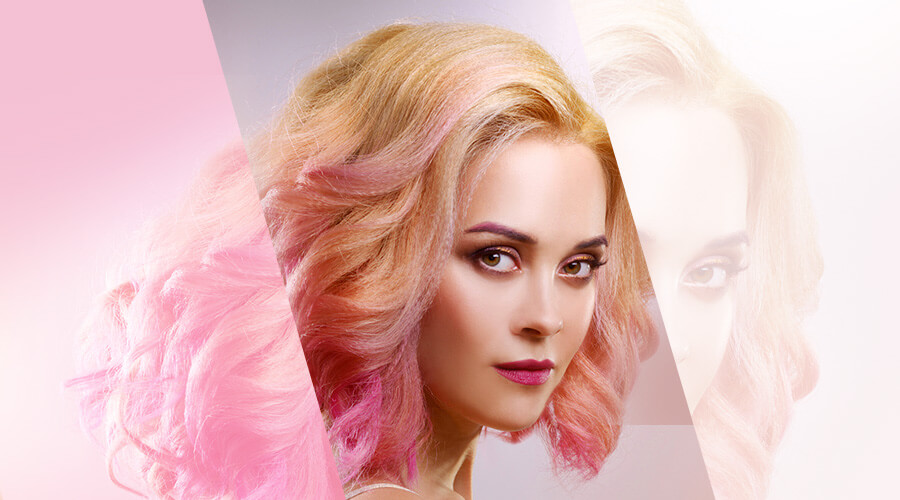
The post-production process during image-production is as important as the actual shooting process. During this process, the visual elements in an image are fine-tuned and optimized for maximum appeal. Whether you deal with beauty, fashion, advertising or any other genres of imagery, a substantial effort has to be put in during the post-production process. Here is a complete guideline for you that will enable you to produce a fashion editorial image after various photo post processing techniques.
Get the background cleaned
While cleaning the background, you need to follow three steps. First, it is necessary to eliminate the wrinkles. Next, you need to even out certain backdrop tones, using burn and dodge. Finally, the image editors blend the gradation according to the background. The tools to be used in the background-cleaning process include:
- Healing brush: Using the healing brush, it is possible to separate a particular tone from the texture. This allows the users to paint in and monitor the texture, while the same tone is retained. Healing brush replaces texture. The editors can get a preview of the final version of the image by pressing ‘Alt’ and clicking on ‘sample’. It will also allow the editor to choose an area from where he wishes to borrow texture. You can also get a blank layer in case you find it difficult to undo your action.
- Dodge and burn: The dodge and burn option helps the editors to smoothen the necessary areas in the backdrop. The editors incorporate two layers of curve adjustment in the process. You can pick any point at the middle of the curve and adjust the layers to increase the brightness of the image. Next, you can incorporate the brush tool and paint the areas where you want to use dodge and burn.
Frequency separation using Photoshop
Frequency separation is needed for the finishing touches in the background of the image. The blur radius controls the way that image gets separated. Adjust the radius at around 3. However, you also need to consider the size of the file. It is important to ensure that the actual color gets sampled and you do not pick a darker shade. This often happens when the curve adjustment is on. It will help you to smooth out the transitions, and not alter the appearance of the backdrop of the image.
Read more about highly operative frequency separation technique
Correcting distractions
It is necessary to make notes before retouching the images. You may create a blank layer and write on your image, using a bright color. Well, you need to focus on the fringes of dresses while correcting color distractions. You will come across an area, below the dress, where gaps are produced by the fringes. Again, you will find an area around the shoulder area, where the fringes do not move down, but on the sides. These distractions need to be corrected during the model post-production process. You may liquify the image of the model to make the clothing appear better. You can fix the distractions in the following process.
You can use the ‘Stamp’ tool to fix the fringes. Most of the editors use a blank layer during this process, selecting the ‘Current and Below’ option. You need to choose certain areas in the fringe, from where you can copy colors and incorporate them in the areas that are to be filled in. You may use the ‘Mask’ option to retain the quality of the image and make sure that it does not get spoilt during the editing process. However, you may have to use the ‘Magnetic Lasso Tool’ before using the ‘Stamp’ tool to remove the fringes accurately.
You can also use the tag to fix the distractions. Here, the editor needs to use the ‘Lasso Tool’ to eliminate the bulk to the tag. Next, you have to sample the backdrop using the ‘Stamp’ tool.
Next, you need to proceed to the liquifying process. Use multiple layers and work on the different elements piece by piece. However, take necessary care not to liquify the image too much which is one of the vital fashion photography editing tips.
Useful Article:
17 best model photo editing tips & tricks for fashion photographers
5 Steps to follow before you complete the retouching process
Before completing the retouch, it is necessary to make sure that all the visual elements are in the right proportion in the image. In the initial process, the image editors take care of larger problems, like distractions, blemishes, dodging, burning, color corrections and tone smoothening. However, you need to have a look at certain finer issues before completing the image retouching process. Underlying are certain photography editing techniques
Toning the color
In Adobe Photoshop, you may use the ‘Selective color’ option for color toning, besides other methods like Gradient Map and Curves. You may use more than one methods in the process. However, you should use the adjustment layers to incorporate the changes. It provides a non-destructive mechanism to tone the colour. Image editors often try out multiple processes and make adjustments in the level of opacity of these effects. It will not alter the image permanently, buy you will be able to note the changes in tones. However, you may opt to skip this step, as it is not essential all the time.
Value adjustments
During the image retouching process, you often adjust the layers to the desired extent. However, as you start winding up the process, you need to make adjustments in the value and contrast in the photo. You may use a layer for level adjustment or alter the mid-point in the levels adjustment. You may also adjust the mid-point slider lightly. Well, in this process, the mid-point is adjusted, in place of the black point, as the darker areas of the image already carries a lot of information.
Sharpening
For sharpening the images, options like ‘Unsharp mask’ and ‘Smart Sharpen’ are available. You will find these tools in the Menu bar, under the ‘Filters’ option. Create a ‘Stamp Visible’ layer before you sharpen the image. This layer will make everything on your file visible. Next, you may use ‘Frequency Sharpening’ to sharpen the image. In this process, you need to create two copies of the layer. Name one of the Stamp Visible layers ‘low’ and the other ‘high’. Apply Gaussian Blur on the layer you have marked ‘low’. However, you should note the amount of blur you are using. It has to be lower than what you use while sharpening the image. Fix the Pixel radius at 4 in these images. After you blur the low image, it is necessary to incorporate ‘apply image’ to the high layer. The process can be simplified in the following steps.
- Choose the ‘High’ layer.
- You will find the ‘Image’ option in the many bar. Under it, the option called ‘Apply Image’ has to be clicked on.
- Choose ‘Low’ for the layer and ‘Add’ for blending. After choosing the scale, check ‘Invert’.
After completing these steps, you may delete the ‘low’ layer. In the ‘high’ layer, adjust the blending mode and fix it at ‘Linear Light’. In the ‘high’ layer, you should turn down the opacity to sharpen the elements in the desired way. You may also incorporate masks while sharpening the areas you want. Besides, take care not to sharpen the image too high or too little. You need to adopt the middle path. In case you are working in a skin retouch edited perfectly, a little sharpening may be sufficient.
Adding noise
A little noise has to be added to the image to make it appear natural. It helps in blending the tones. In case your image contains banding, it comes helpful to a large extent. You will find banding in the images when you push and edit the shortcomings of the image. When you add noise to the image, the banding gets diminished to certain extent. This enhances the quality of the image and generates a better print when you obtain a hard copy. In order to add noise, you need to follow three simple steps.
- First, go to the ‘Filter’ option.
- Choose ‘Noise’ from the available options.
- Select ‘Add Noise’.
However, you should not add too much noise in the image. Consider the overall looks of the image when you add noise to it and proceed strategically only. In case you want a grain-type appearance in the image, you may opt for adding more noise; this is one of the fashion photo retouching tips that professionals availing fashion photo retouching services optimally implement.
Step Away
Well, this is not a technical step but very important. Before you finalize the looks of the image, it is necessary to ensure that you obtain the best looks from the image. Save the work, step away for a while and take some time to scrutinize the image post the process of portrait photo retouching. Particularly, if you are not under the pressure of strict deadlines, take enough time to enhance the looks of the image. You may have a look at the image the next day and incorporate the necessary changes that make it look better.
These professional photo editing tips will enable you to produce an impressive image. You should have a detailed knowledge about the photo editing software in order to enhance the looks of the image. If you don’t have time for DIY approach, then reach out to an expert photo editing company for retouching support.


